Connection Manager Groups
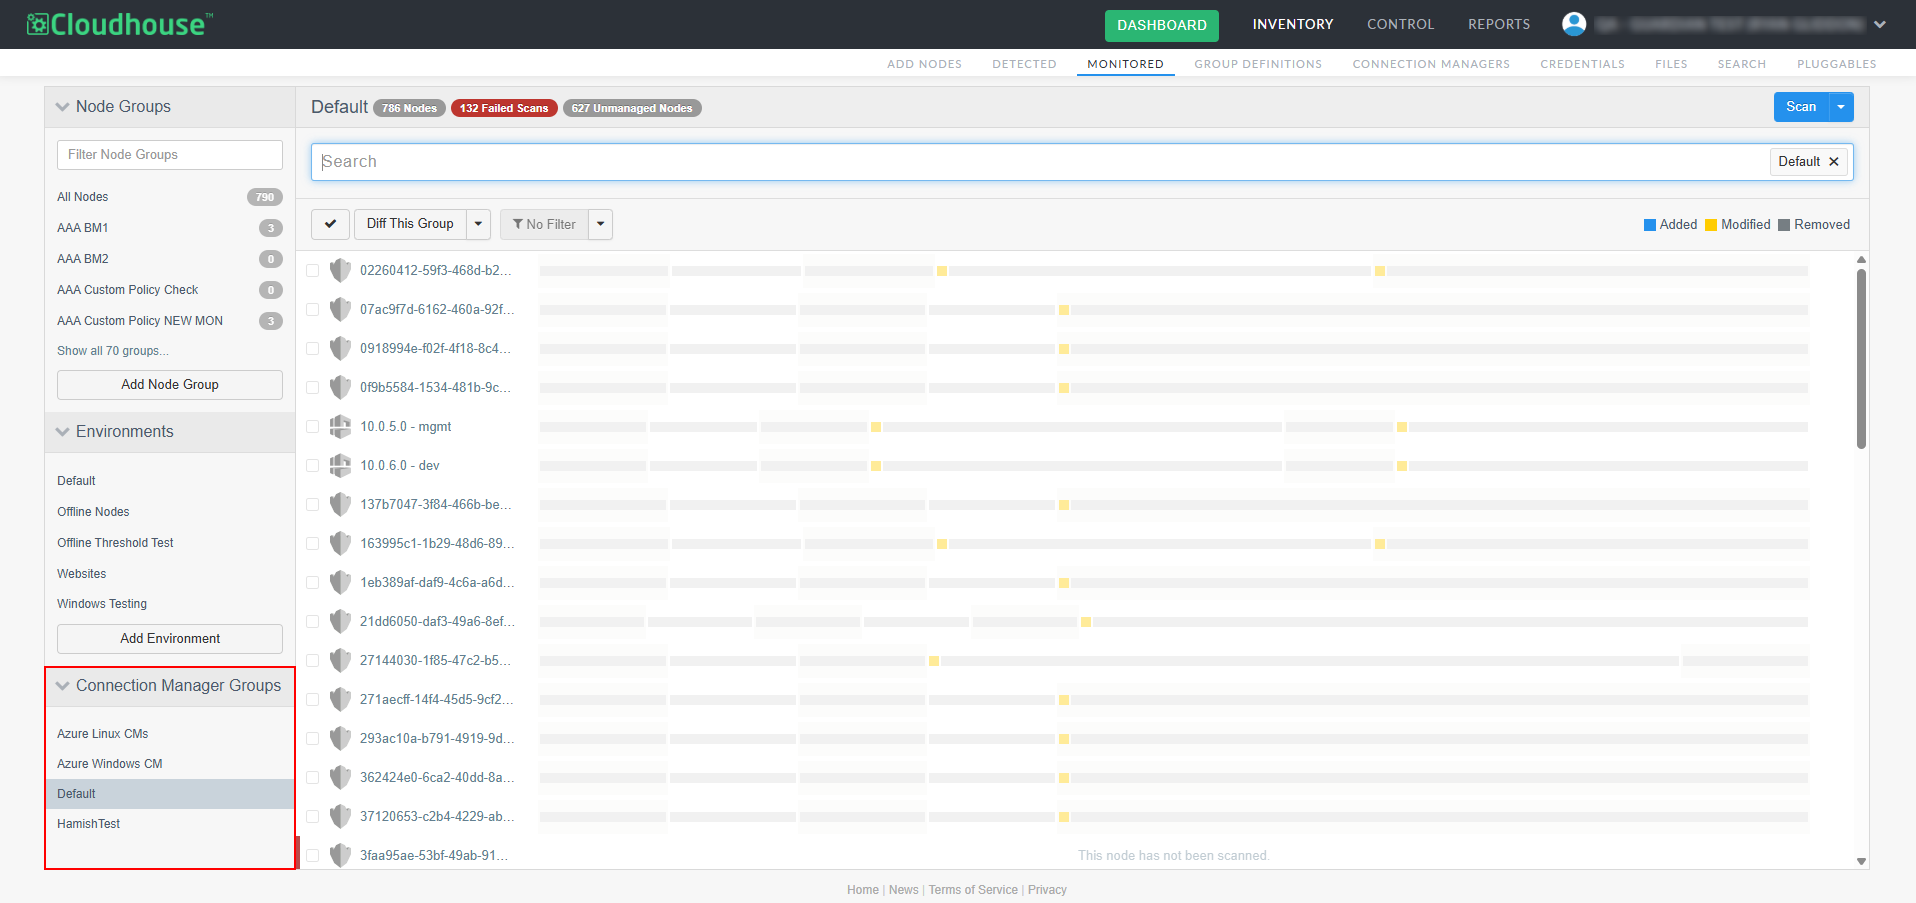
Connection Manager groups within Cloudhouse Guardian (Guardian) are used to organize Connection Managers of the same type into groups with similar properties and roles. For example, you could group your Connection Managers according to network topologies, time zones, or any other organizational property. The Connection Manager Groups drop-down menu on the Monitored tab (
Note: Each Connection Manager group should only contain one type of Connection Manager; either all Windows or all Linux.
Note: The search functionality for Connection Manager Groups was introduced in V3.57.0 of the Guardian web application. For more information, see July 2025 Quarterly Release. To enable this feature, contact your Cloudhouse Representative.
Whilst similar to Environments due to their organizational properties, Connection Manager groups are not assets that are being scanned, rather, they are the service that is responsible for scanning your assets. For more information on the services available for scanning nodes, see Agent-Based or Agentless? Unlike Node Groups, you cannot add nodes to a Connection Manager group from within the Monitored tab, you must configure the Connection Manager group that is responsible for scanning each node within the individual node's settings. For more information, see Assign Nodes to a Connection Manager Group.
When adding a new node, individually or in bulk, you are required to define which Connection Manager group is responsible for scanning that node. Likewise, when registering a Connection Manager to your Guardian appliance, you are required to provide a Group API Key. As such, you should create your Connection Manager groups in advance of setting up your Connection Managers. This helps to distribute network traffic across your Connection Managers. For more information on use cases and best practice for setting up your Connection Manager groups, see below. For more information on how to add a Connection Manager group, see Add Connection Manager Group.
Custom / Default Groups
A custom Connection Manager group is a group that has been manually created in the Connection Managers tab (Inventory > Connection Managers). Custom groups typically have several Connection Managers assigned via the group's unique API Key during the registration phase. Or, alternatively, you could add a new API key to an existing Connection Manager's config file to change the assigned group at any time. Such groups are unique to the organization they were created in. If you created a 'US-WEST' Connection Manager group in your QA organization, you would not be able to view or access it from your DEV organization, for example. This structure prevents any duplicate node scans occurring between one organization and another. For more information on organizations, see Organization Accounts.
Tip: Whereas the Connection Manager Groups drop-down menu is the location for accessing all of the nodes that are being scanned by each Connection Manager group, the Connection Managers tab is the location for accessing individual Connection Managers and organizing them into groups. For more information, see Connection Managers.
In contrast, there is only one 'Default' Connection Manager group, which only contains one Connection Manager. The built-in Linux Connection Manager. This service is available for all users, with the capacity to scan up to 100 nodes, which is particularly useful for users with a small amount of non-Windows nodes as you are not required to satellite deploy a Linux Connection Manager. You can, instead, rely on the built-in Linux Connection Manager to scan your non-Windows nodes via SSH. You cannot, however, add new Connection Managers to the group, or edit the existing Connection Manager. The 'Default' Connection Manager group is also not tied to a specific organization, it scans any SSH nodes that are assigned to it regardless of the organization.
Note: If your Windows nodes are automatically assigned to the 'Default' Connection Manager group due to a lack of alternatives, it may be sensible to create a Windows Connection Manager group with multiple Connection Managers, and then re-assign your Windows nodes to the correct group. Any non-SSH nodes will not be eligible for scanning via the 'Default' Connection Manager group.
Use Cases and Best Practice
When Guardian receives a request to scan an Agentless node it checks what Connection Manager group it is assigned to first. This is because Connection Managers within the same group share the load for node scans, integrations syncs, etc. However, that load is not distributed between each group within Guardian and so Connection Manager groups can be especially useful to segregate your network and ensure load management. The following section describes two use cases for organizing your Connection Manager groups; according to network access or permissions, as well as some best practice advice.

The way that you choose to organize your Connection Managers depends on how you want to configure your estate. The only rule for configuring your Connection Manager groups is that they can only contain one type of Connection Manager. Meaning that there should be groups of Windows Connection Managers responsible for scanning WinRM nodes and groups of Linux Connection Managers responsible for scanning SSH nodes, in whatever organizational structure you choose to use. You cannot, however, have a Connection Manager group with both Windows and Linux Connection Managers. Whatever way you choose to organize your Connection Manager groups, there are ways to optimize the efficiency and balance the load.
Network Access
The most common way of organizing Connection Manager groups is according to the level of network access permitted to your node set. For example, if you organized your Guardian instance to match your own infrastructure with 'DEV', 'UAT, and 'PROD' Environments, the nodes within the 'DEV' environment would not be able to access the nodes within the 'PROD' environment, and vice versa. As such, you could create corresponding 'DEV', 'UAT, and 'PROD' Connection Manager groups that are responsible for scanning the Agentless nodes within those environments. Then, to optimize the scan times of nodes within those groups, you could have a low-powered Connection Manager within the 'DEV' group and a high-powered Connection Manager within the 'PROD' group to handle the different levels of network traffic typically attributed to those environments. Or, as many Connection Managers as required to cover the load for each group.
Note: Other areas that may be impacted by network restrictions include; geographic regions, cloud regions within AWS or Azure, or DMZ networks. To handle these restrictions, you can create a corresponding Connection Manager group responsible for scanning those areas.

Permissions
In some scenarios, you may need a specific user account to access certain nodes. To handle this scenario, you can create a Connection Manager group with Connection Managers that are all using the required user account credentials. Then, assign the nodes that require the elevated permission set to be scanned.

Essentially, there is no 'wrong' way to organize your Connection Managers. As described above, there are several use cases for organizing according to necessity; dealing with network and permission restrictions. But you can organize your groups according to any number of defining criteria, such as region, or connection type.
Assign Nodes to a Connection Manager Group
Once you have set up your Connection Manager groups and added the required Connection Managers, you can begin assigning nodes to your groups. The easiest way to add nodes to a Connection Manager group is during the creation stage, however you can edit a node's settings manually from within the Monitored tab in order to re-assign them to a new Connection Manager group. If you have just set up multiple groups after using the 'Default' Connection Manager group, you may need to re-assign multiple nodes at a time. This can be achieved using the built-in Multi-Select Functionality.
Note: For more information on how to assign a Connection Manager to a Connection Manager group, see Group API Key.
To manually assign nodes to a Connection Manager group, complete the following steps:
-
In the Monitored tab, select the checkbox for the node(s) that you want to assign to a different Connection Manager group.
Note: You can select a node from any of the drop-down menus in the Monitored tab. For example, Node Groups or Environments.

-
Click the Diff X Nodes drop-down, then select Edit X Nodes from the list of options. The Edit X Nodes page is displayed.

-
Select a new Connection Manager group from the Connection manager group drop-down list.
Tip: If the fields are blank, or the Connection manager group option isn't displayed, this indicates that the configuration is very different between the two selected nodes. Make sure to only apply settings to nodes of a similar criteria. For example, don't add Linux nodes to a Windows Connection Manager group, as they won't be eligible for scanning.

-
Then, click the Update Nodes button to save your changes.
Once complete, the node is assigned to, and displayed within, the new Connection Manager group. For more information on the additional fields displayed within the Edit Node page, see Edit Node.